Thursday, April 3, 2014

April 2014 Class | Bottle Decor

Are you ready for our next class? We've picked a project that leaves plenty of room for creative freedom and ideas to flow!!

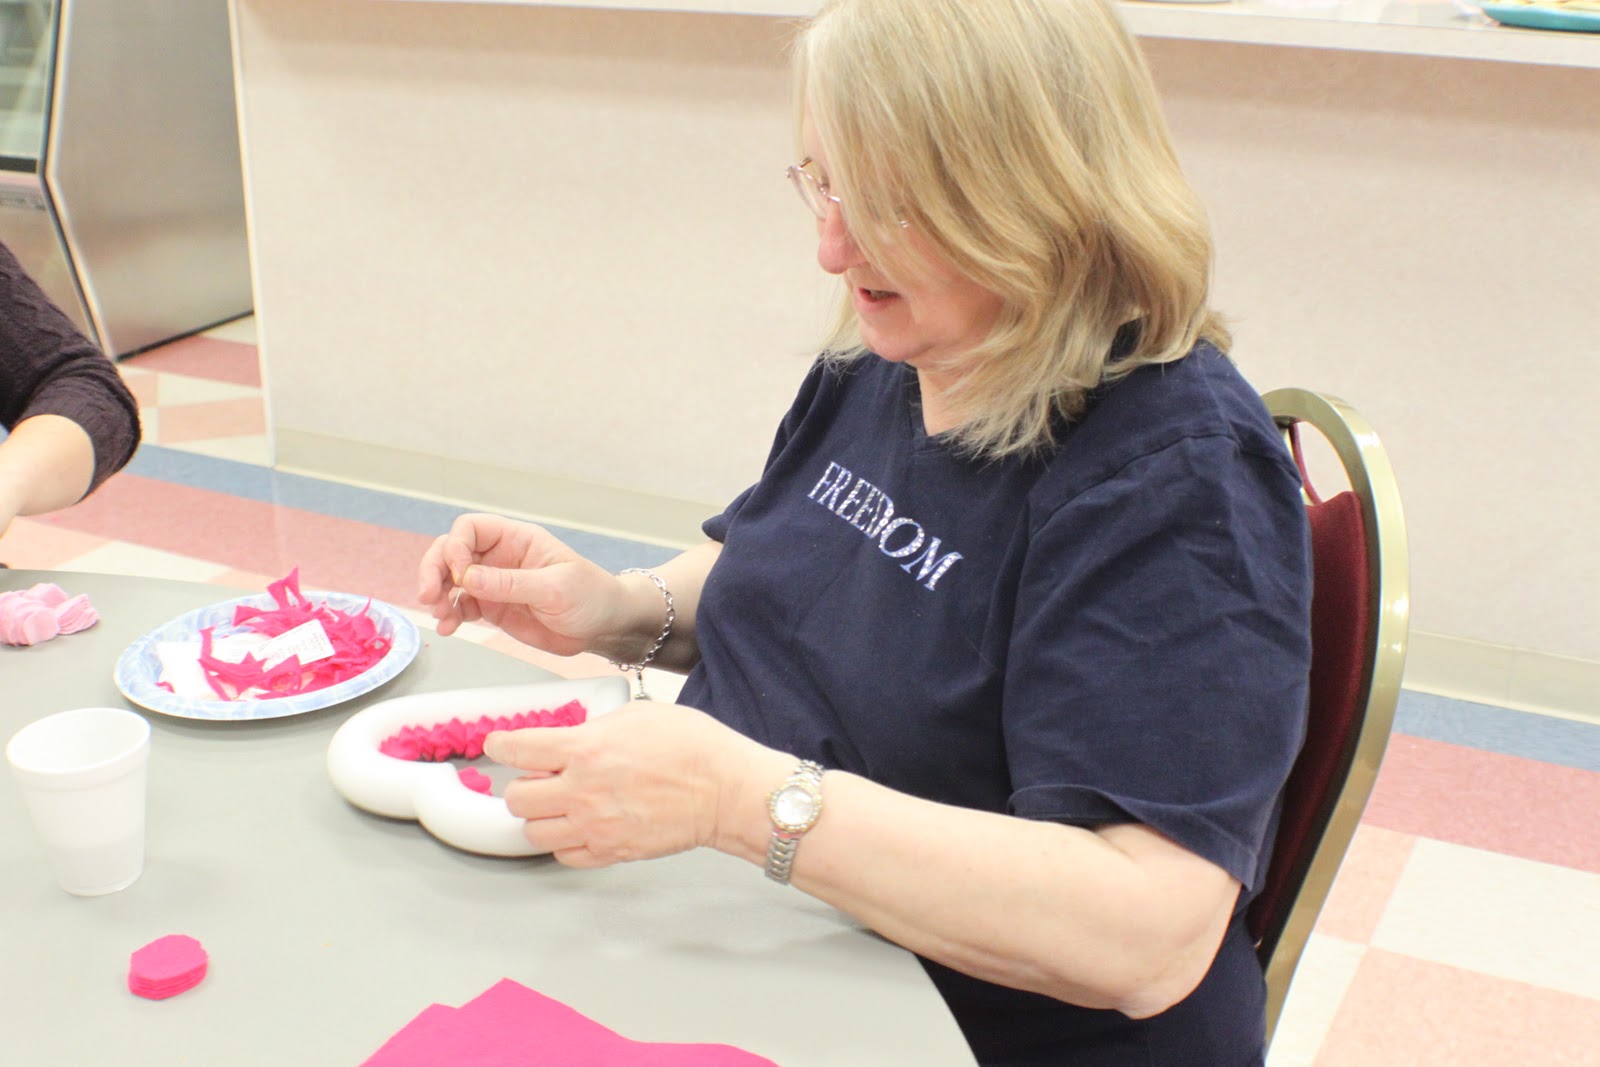
If you struggle in the "creative" area, have no fear...there will be plenty of ladies there to help guide you and show you easy ways to create a one of a kind decor piece for your home, or for a gift!

Take a look at all the ideas... (these are individual links, click on each to visit Pinterest for tons of ideas!)

Here is some help with SUPPLIES...due to the differing projects, the supplies list will be very dependent on which idea you go with. 

IF you are decorating your bottle with fabric, here are some things you may/will need:
  • Scissors
  • Hot Glue Gun
  • Glue Sticks
  • Fabric
  • Fabric bows, flowers, etc. (if you wish)
  • Other accessories, buttons, pins, etc. (if you wish)
  • Small box for drying and carrying home (so you won't mess up or smudge your project)
IF you are decorating your bottle with paint, here are some things you may/will need:
  • Paint
  • Paint brushes, or foam brushes
  • Paper to cover work space
  • Tape (to create empty space or room for other colors)
  • Other accessories to add to the bottle. (if you wish)
  • Small box for drying and carrying home (so you won't mess up or smudge your project)
IF you wish to add vinyl lettering to your bottles, you will need to bring:
  • Vinyl (a vinyl cutter and fonts will be provided for you)

IF you need any help in determining what supplies you will need to complete your project, please contact April for help! (Be sure to include a link to the project you will be working with, it would be helpful if the link included pictures.)

I hope each of you can join us for this fun evening with the ladies!! PLEASE BE SURE TO RSVP...it is the ONLY way we know how many to set up for; due to space and time we do require a minimum of 3 ladies to RSVP in order to keep Chicks in Aprons scheduled. 

Ways to RSVP:

    Tuesday, February 4, 2014

    March Class...Decorative Wooden Letter Blocks

    Ladies!! Chicks in Aprons is starting back up!!! Aren't you excited!!?? I know I am!!

    Here are the details:


    Check out the supplies list here:


    If you want to see more about what we will be making, check out the tutorial we will be following from Inspiring Creations Blog.

    **Note** we will have a few additional wooden blocks available, if needed. Also, we will have the capability to cut out letters on the spot as well!!

    If you have any questions, please feel free to ask! Email April at chicksinaprons@verizon.net

    ****There is no childcare provided, and we ask that active-aged children stay at home, unless they are old enough to participate in the project with Mom.****

    Wednesday, February 2, 2011

    February Class - Photos

    The Ladies had a great time assembling felt hearts...with tons of felt circles...now we all have numb fingertips; but it was all worth it!!!

    Enjoy some photos from the evening!!


    See you in March!

    Felt Heart Decor - February Class Tutorial

    This week, we made the most adorable Felt Heart Door Hangers...here's the lowdown on what you need and how to make one at home!


    Felt (any color) 10-12 sheets
    Ribbon (to hang your decor)
    Straight Pins/Dress Pins (250+)
    Heart Shaped Styrofoam Heart (I know Hobby Lobby carries them)
    Scissors
    Your supplies should total around $14-16

    Now, here's the HOW-TO

    So I am gonna do a quick run down of the fastest way to cut out your circles, cause you are going to need A LOT of them!! First you want to cut your felt sheet in half...


    Then cut it in half again...


    Then cut them in half...


    You still with me? Now you should have about an inch to an inch and a half wide stripe that is 8 inches long. (estimated) Now you need to zig zag fold them...like this...


    Now, cut off the corners forming a circle. You can cut a complete circle out if you want, whatever works for you. And no, your circles do not have to be perfect...


    Now...grab your pins and your heart...it's time to start assembling this baby...

    Take one circle and fold it in half...


    Then in half again...till you have this little felty bundle...


    Stick one pin through the point of your felt circle bundle and push it into your styrofoam heart...


    Pack them as tight or as loose as you desire...and keep folding, sticking and pushing...


    No really, keep going...


    And before long, you'll be DONE!!
    It helps to have a little cutie-pah-tootie nearby to help show off the final result...and it's even better if she exclaims "oh I loooveee ittt aweeee" and gives it a hug. *adorable!*


    Then you are complete. The adding the ribbon is pretty self-explainatory...I assume. Just cut the ribbon to desired length and stick it to the back of your heart with more pins.

    *Note, your pointer and thumb finger will more than likely be numb at the tip by the end of this...but no one ever said crafting isn't hard work!!!*

    Here's my finished product!


    Stay tuned for pictures from the Class...the ladies had such a good time!! If you didn't make it, sorry we missed you!! Hope we catch you in March!! :) Keep your eyes out for the March project, and be sure to "like" us on Facebook, so you can get the information on the upcoming Classes!

    Tuesday, January 25, 2011

    February Class

    Boy the Holidays got the best of us, but we are back on track!

    February 1st is our first Class for 2011 and I am so excited about what we will be making!


    These are just a few of the ideas that I have run across. When you R.S.V.P.,  your supplies list will include the supplies (cost around $12) for the Felt Wreaths/door hangers (shown in the first two example photos.)

    I also gleefully challenge you to do your own search for other project ideas, like the burlap/felt heart picture frame. (shown in the third example photo)There are so many cute ideas out there, and there will be plenty of gals there at the Class to help you on the project too!

    Have fun with it and be creative!! Hope to see all of you wonderful ladies there!

    Remember to  R.S.V.P. to ChicksinAprons@verizon.net to get your supplies list!  And as a reminder, we will be starting promptly at 6:30 p.m. to ensure enough time for the devotion and project!

    Thursday, October 7, 2010

    More info on the November Class!

    **UPDATED NOTE**
    The November class has been canceled! Keep your eyes out for the DECEMBER Class! It's going to be a blast!!

    Hey ladies!

    Hopefully most of you were able to attend the October Class and I HOPE you loved it! I know that I did!! Now the November Class is coming up on November 2nd and you still have PLENTY of time to R.S.V.P.! See ad here.

    Brittany Harris is our Host for the month! yeah, cheers, hoorrahhhh!

    I figured I would give you a little sneak-peek into what we will be doing, and since we will be enjoying all the Fall weather...we will be making...

    Mum Pumpkins!

    Worried about not being crafty enough?! Have no fear...you can cut and glue right?!

    Take a peek...Now, these are just ideas...you can get creative and do what you want!


    Again, these are just examples...you can choose your own colors, do real or fake pumpkins! You can put flowers around the outside, OR inside your pumpkins! Have fun with it!

    A perfect way to add some FALL lovin' to your front porch or door, even a desk at work!!! So R.S.V.P. today and I will send your supplies list!!


    See you lovely ladies there!!

    **need to R.S.V.P.? It's easy, just leave a comment on this blog (with your email address) OR send an email to April at ChicksinAprons@verizon.net!!! See?! Easy-peasy!**

    November Class


    Get more details here...

    R.S.V.P. to ChicksinAprons@verizon.net. Once you R.S.V.P. you will receive your "Supplies" list and any additional information.
    THANKS!